
Visualization: create images, scenes and videos
What Visualization does
Visualization in the left sidebar has three tabs. Scene Creator builds animated scenes that you can turn into videos or GIFs. Video Editor joins video clips on a timeline. Image Editor makes AI images, logos and print-ready pictures. What you save is stored with the marketing relation you work in, so it also appears in Files.
Before you start
- Select a marketing relation in Current Account in the sidebar. It lists relations that have Marketing Relation ticked (a company admin sets this).
- Use a desktop browser. These are large, drag-and-drop editors, and the mobile app marks them Desktop recommended.
- AI generation can be billed as usage. Company admins can see an AI usage figure at Settings -> Account -> Plan & Usage (the line Text generation AI Tool). What you can use can depend on your plan; see Pricing.
- This page uses the English labels. The Dutch, German and French app show these screens and dialogs in that language; a few tool names, such as AI Video Creator and AI Video Pipeline, stay in English.
Warning: Without a selected relation, Visualization shows a blank page and no message.
Image Editor
Start screen
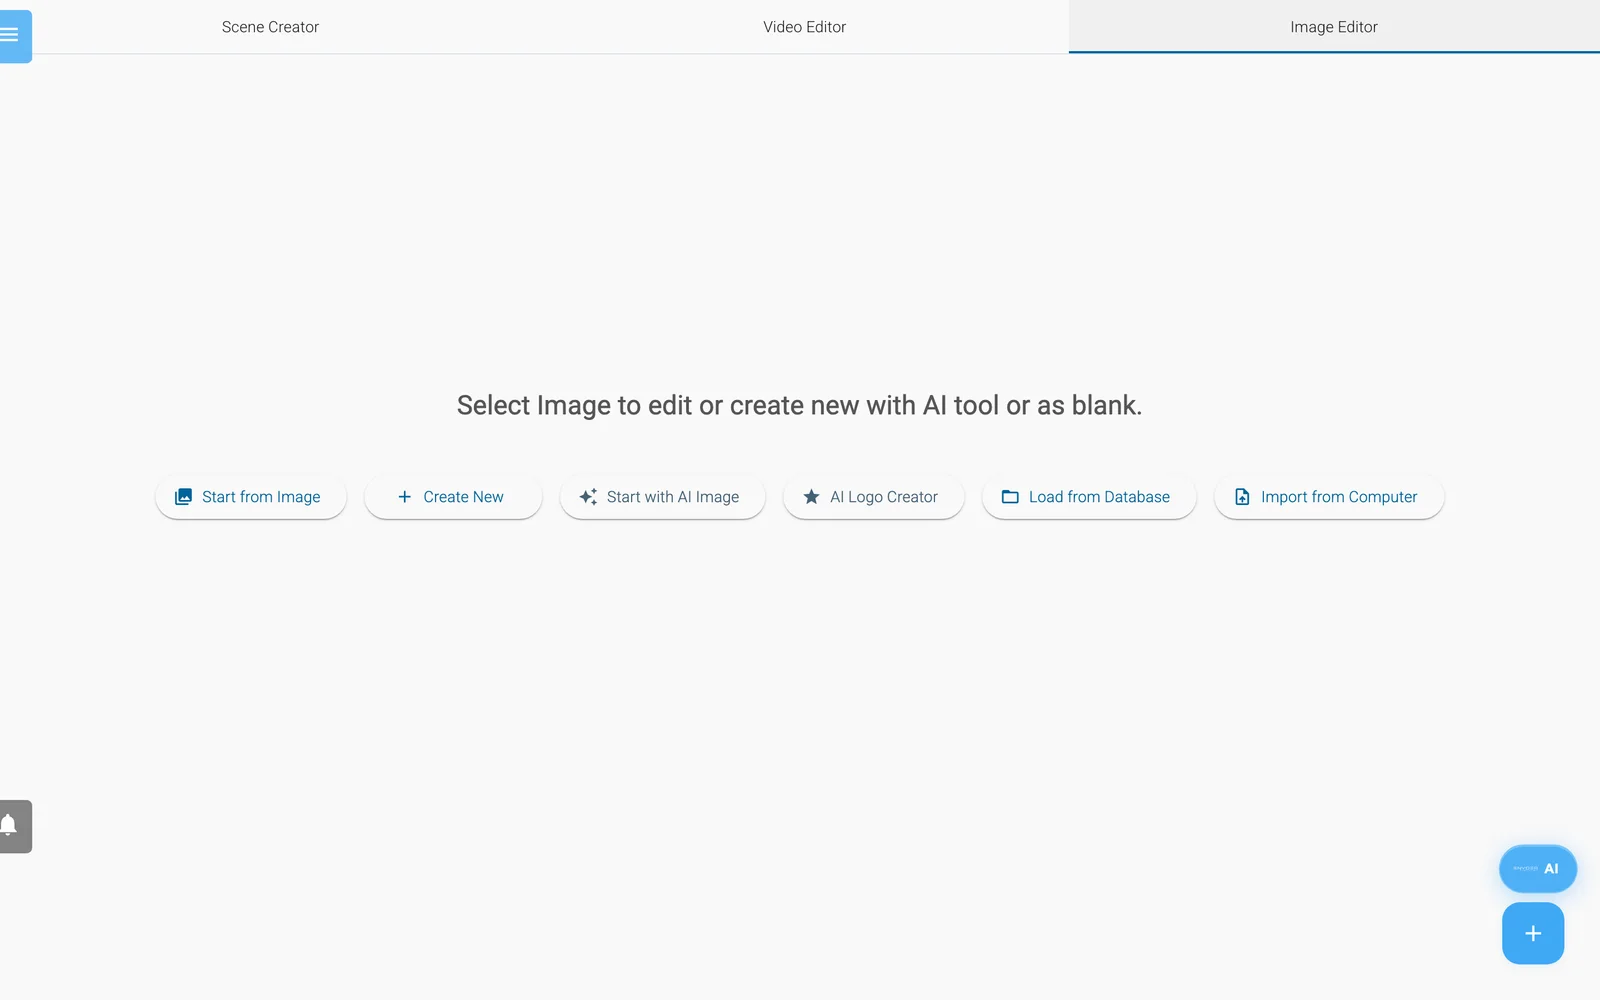
The Image Editor start screen.
- Start with AI Image opens the AI Image tool (below). AI Logo Creator makes a logo with AI.
- Start from Image uses a gallery picture as the canvas. Create New opens a blank canvas.
- Load from Database reopens a saved project. Import from Computer loads a project JSON file.
Canvas tools
The speed-dial button adds images, text, shapes, charts and vectors (Add Vector Image, Draw Vector), and starts Enhance Image (SDXL), Inpaint/Remove Objects, AI Logo Creator, Generate AI Image and AI SVG Generator. The toolbar has Canvas Settings (name, size, background), AI Tools, Crop & Transform and zoom.
The AI Image tool
Open Image AI Tool with Start with AI Image, Generate AI Image or AI Tools -> Generate New Image.
- Describe the picture in the description field (up to 400 characters). Enhance description with AI rewrites it.
- Optional: open Smart Preset, type a goal, select Suggest, then Apply Preset. Browse Presets lists presets to pick yourself.
- In Basic Settings set Image Size, How many versions? (1 to 4), Main Color and Composition Quality (Standard, Enhanced (Recommended), Strict). Further panels: Artistic Style, Scene & Environment, Camera & Composition, SDXL Settings & Features (LoRA Style, Multi-LoRA Blending).
- Select Create Image. The dialog shows Generating your image... and a Cancel button.
- Select a picture, then Select, Save, Enhance, Variation or Try Again.
Select asks Import Mode: Yes replaces the canvas background, No adds a new element. It also stores the picture in the relation's files, so you do not need Save first. Enhance asks for an Enhancement Method (Refine, Restyle, Style Transfer, Layout + Style, Face, Subject, Outpaint, Replace Text) and an Enhancement Prompt, which you must fill in.
Note: Image Size only takes effect when a Smart Preset is applied.
Save and export
| Button | What it does |
|---|---|
| Convert to Image | Asks for a name, shows a preview, saves a PNG to the relation's files and downloads it. |
| Transparent PNG | The same, without the background. |
| Save to Print | Size preset, DPI, orientation, margin and optional AI upscale, then Save as PDF or Print. |
| Upscale + PDF | Upscale Settings (2x or 4x; AI (SD) or Fast (Lanczos)), then downloads a PDF. Needs an image on the canvas. |
| Save Project, Open Project | Keeps the project editable. The copy icon saves it under a new name. |
Names accept letters, digits, hyphens and underscores only.
Scene Creator
Build a scene
- General Settings: name, Duration in seconds, size. Background/Audio Settings: background image, video, audio, colour, effects.
- Add elements with Open Elements Menu or the speed-dial button: counter, image, text, shape, animated image, drawing, chart, AI generated content, form, character, 3D model, embedded video.
- Select an element, open Open Animation Menu and add an animation: Animation type, Ease type, Duration, Start, repeat. AI Animate builds one from a description.
- The round Render button in the playback controls only refreshes the preview in your browser. It does not create a video; Convert to video does.
AI dialogs
| Button | What it does |
|---|---|
| AI Video Creator | Text to Video and Image to Video: describe the clip, optionally Generate Preview, then Generate Full Video. In Jobs, Download & Save stores it in your files; then Set as Background or Add to Canvas. |
| AI Video Pipeline | Turns a brief into a multi-scene video. See Make a short product video. |
| TTS Generator | Text to speech. Voices: XTTS (multilingual) or LJSpeech (English only). Use as Canvas Audio or Use as Background Audio. |
| Wav2Lip Generator | Lip-syncs a video or picture to audio or typed text. |
| Voice Cloning | Needs 6-10 seconds of clear single-speaker audio. Only use voices you have the right to use. |
| AI SVG Generator | Text to SVG, Image to SVG, Icon Search; then Import to Canvas, Save to Files or Download. |
| 3D Model Generator | Builds a 3D model from one image or several; Add to Scene. |
Save, convert and share
The three-dot menu in the toolbar appears once a relation is selected.
- Save, Save As, New, Load from Database, Download as JSON File, Import from Computer.
- Convert to video asks for confirmation and a name, saves the scene and creates an MP4. The app says this can take a while, that you can keep working and that you will be notified. Find the file in Files. The finished video is also added as a clip in the Video Editor tab; Add scene to video does the same.
- Convert to GIF and Convert to small GIF are disabled for scenes longer than 61 seconds.
- Create PNG Image, Create JPEG Image, Create Transparent PNG, Save to Print (PDF) and Upscale + Save as PDF export stills.
- Import PowerPoint turns a .pptx file into scenes. Enhance PowerPoint improves design and animation and downloads a copy. Export to PowerPoint exports the current scene.
- Copy Share Link copies a public link (save the scene first). The page plays the video if the saved record has one, otherwise shows a still preview, otherwise says the presentation has not been rendered as a video yet.
Video Editor
- On a clip, select Load Video to pick or upload a video. Select Add Clip for more.
- Toggle View Mode switches grid and timeline. Drag clips, or use Move Left and Move Right, to reorder.
- In the clip properties set Transition Effect, Transition Duration, Fade Offset, Trim Start and Trim End, or Split Clip, Duplicate and Delete Clip.
- Add music with Load Audio; Remove Audio takes it out.
- The three-dot menu has Open Project, Save, Save As... and Export Video.
Note: If Project Name already has a name, Export Video saves the project instead of exporting it. To export, leave Project Name empty; the app then asks for a name and starts the export.