
Mailings and campaigns: design, schedule and send bulk email
What the Mailings screen does
Mailings sends bulk email to a list of recipients. It has three tabs: Template Editor (design emails and save them as templates), Campaigns (group mailings, choose the audience and schedule them) and Mailing list (recipients; see Mailing lists and segments). It works on the relation shown in Current Account; without one it says "Please select Relation".
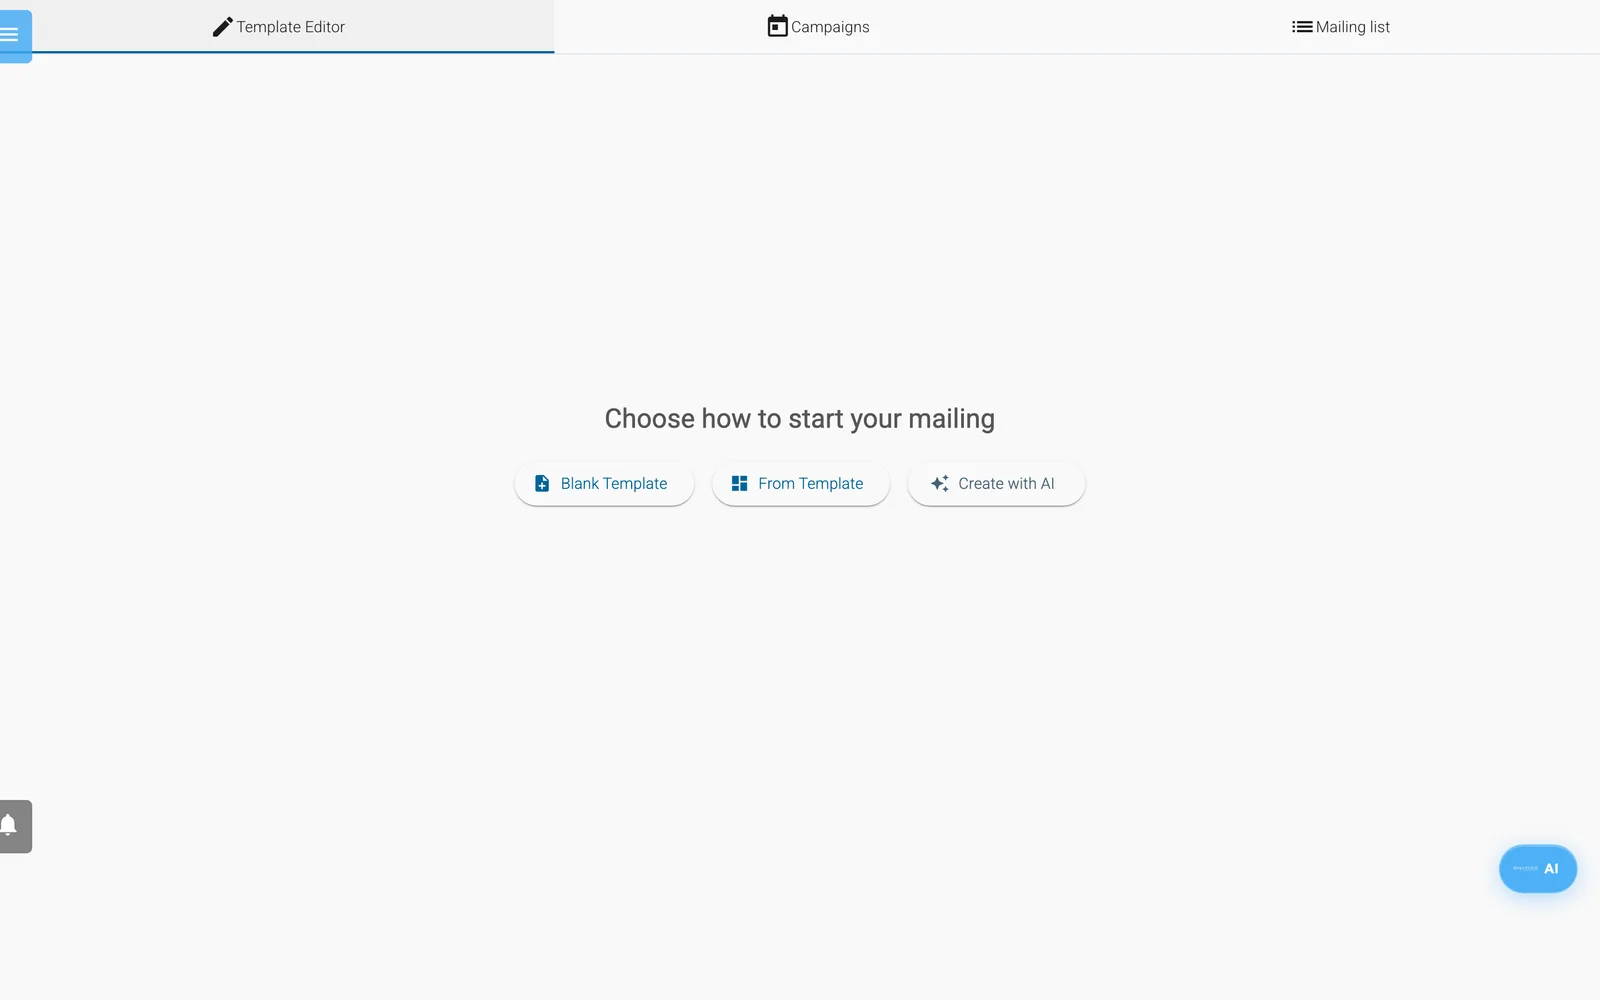
The Mailings start screen. The tabs along the top are Template Editor, Campaigns and Mailing list.
Before you start
- Verify a sending domain. Campaign mail goes out through your own domain, not through your mailbox. See Set up a bulk email domain.
- Create a mailing list with recipients.
- If the domain in Send from is not verified when the send time arrives, nobody receives the mailing and it is still marked as sent.
Build a template
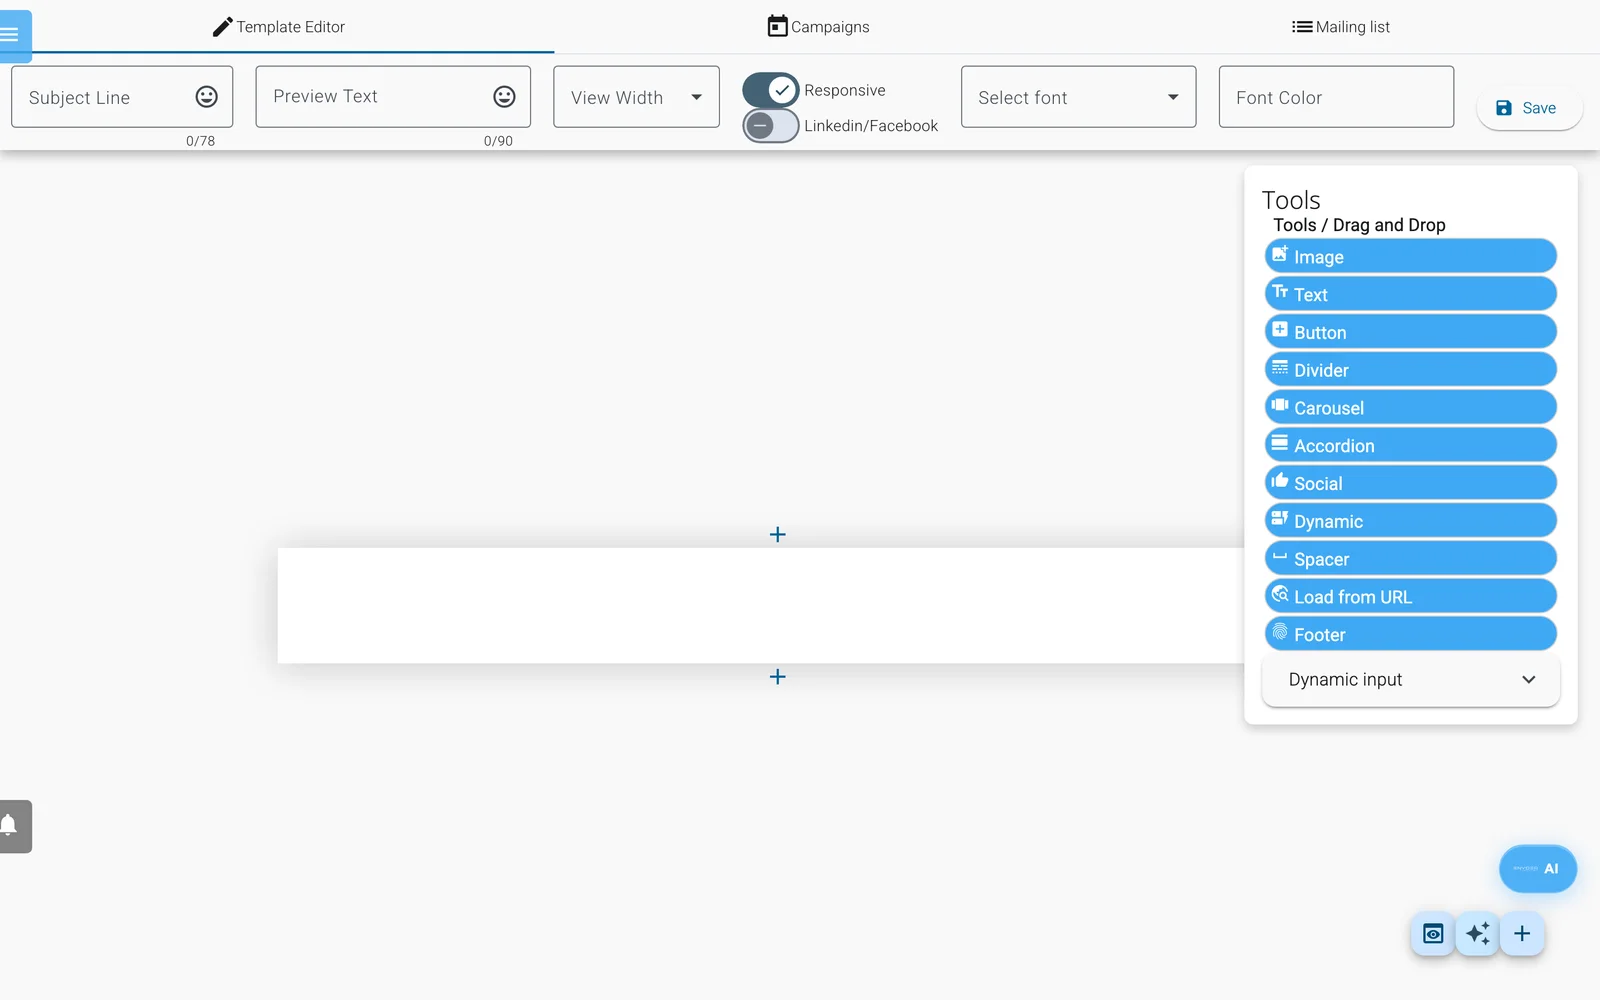
The template editor: subject line and preview text at the top, the Tools palette with the blocks you drag onto the page.
- Open Mailings -> Template Editor.
- Choose how to start: Blank Template, From Template (Saved or Standard; Examples has no templates) or Create with AI. Recent template reopens your last one.
- Fill in Subject Line and Preview Text (the first lines shown in the inbox).
- A blank template starts with one section; add more with the + icon. Drag blocks from Tools: Image, Text, Button, Divider, Accordion, Carousel, Spacer, Social, Footer, Dynamic and Load from URL. The Footer block adds your relation's name and address and an unsubscribe link.
- Click Preview Mail to see it at desktop or mobile width. There is no test-send button.
- Click Save and name the template. The dots menu also has Save as New, Download as File, Load from File and Paste Template.
Personalise with tokens, in the body or the subject. In Tools, Dynamic input lists the name, company and title tokens; click one to copy it. Type the others yourself. Tokens read each recipient's list entry:
| Token | Fills in |
|---|---|
%recipient_firstname%, %recipient_lastname%, %recipient_name% | First name, last name, full name |
%recipient_company%, %recipient_title% | Company and title |
%recipient_info1% to %recipient_info4% | The Info1 to Info4 list fields |
%unsubscribe_url%, %unsubscribe% | The unsubscribe address, or a ready-made link |
A missing company becomes "your company", and a greeting such as "Hello %recipient_firstname%," becomes "Hello," when there is no first name.
AI help: the sparkle button (Generate AI Message) takes a description of at least 10 characters and a website to read, shows a preview, and Use This Content loads it. Create with AI opens the AI-Enhanced Mailing Creator with three tabs: Configure Mailing, Generate Content, Review & Customize. Click Save & Use to load the result.
Create a campaign
A campaign has a name, one or more mailing lists and a chain of mailings: a first mailing and optional follow-ups. The Campaigns tab has no new-campaign button. Create one with AI campaign setup:
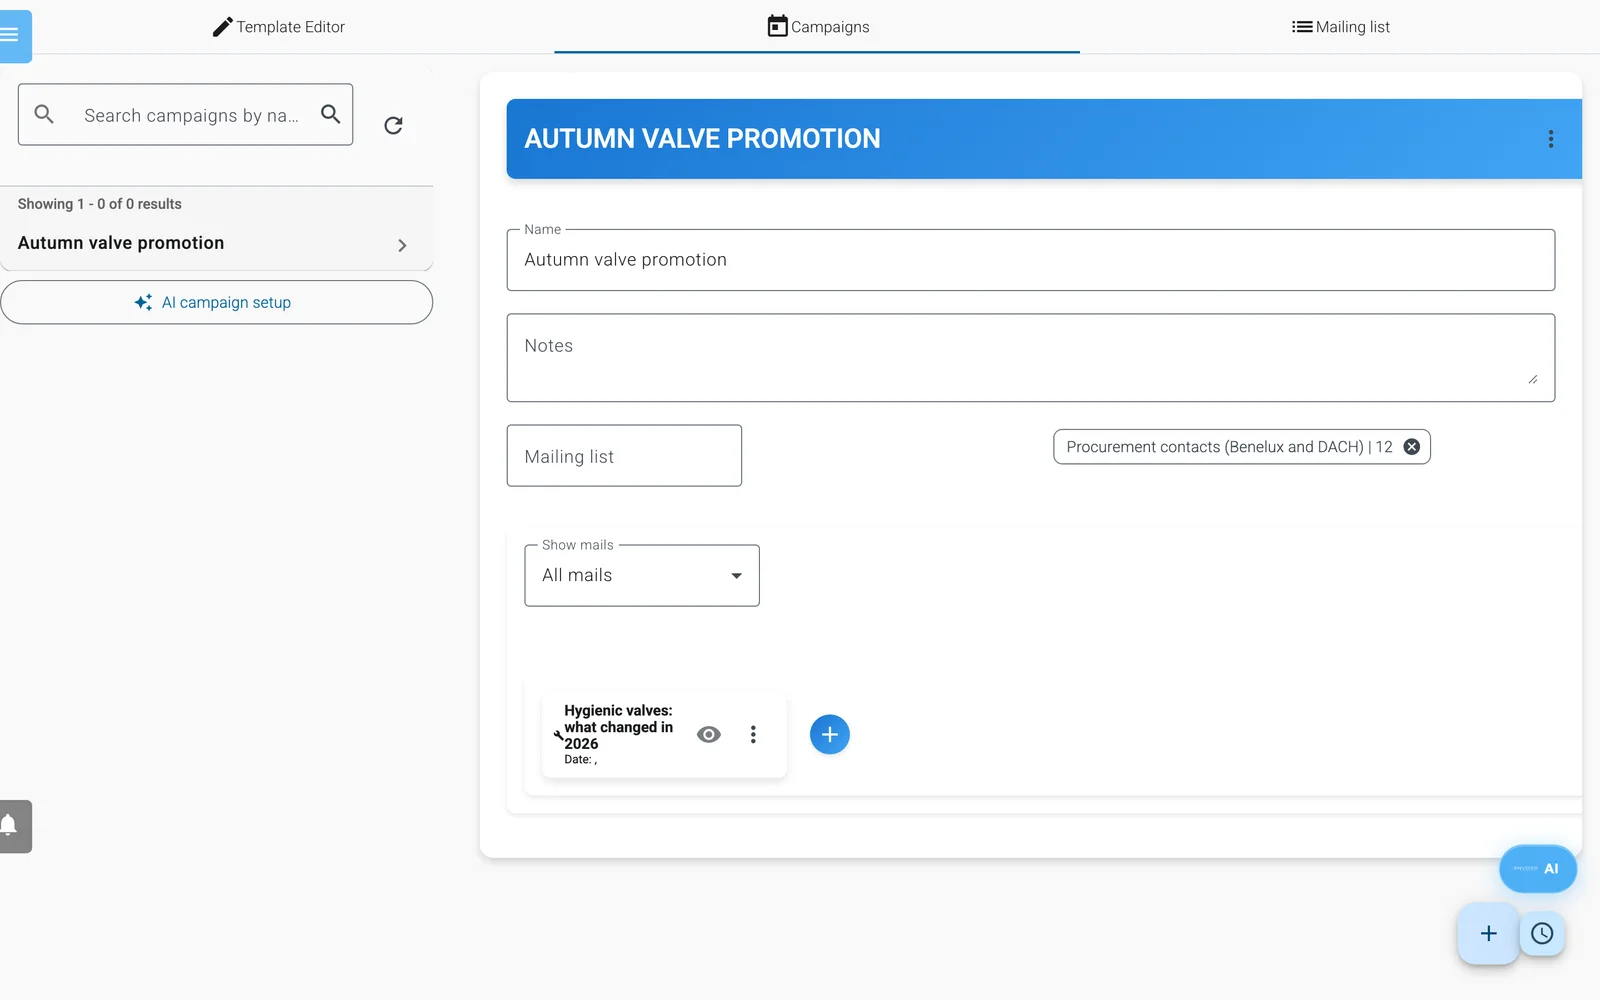
A campaign: its name, notes, the mailing list it goes to and the mails it contains.
- Open the Campaigns tab and click AI campaign setup.
- In What is this campaign about? describe the goal. Optionally choose a Primary goal. Click Generate plan.
- Review the plan: Campaign name, the audience with an estimated size, and the Sequence with subjects, timing and triggers. Plans can include A/B subject variants and send-time optimization; there is no separate switch for them elsewhere.
- Click Create campaign. Enydea creates the campaign, a dynamic audience list built from your CRM, and the mailings with subjects and timing but no content.
- Select the campaign in the list. If it appears under a generic name, change it in Name.
The generated list is built from CRM relations that have an email address. In Mailing list, remove it (click its x) and add your own list if you want a different audience.
For each mailing, click the dots menu -> Edit:
- Click Show templates and choose a saved template, then click Hide templates to see Subject. The template's content is copied into the mailing, so later changes to the template do not change this mailing.
- Set From Name, Send from (an address on your verified domain) and Subject. Choosing a template can pre-fill Send from with a guessed address, so always check it.
- For a follow-up, set Send To: All, Previous Opened, Previous Clicked or When Visited Link (then Select Links).
- Set the timing. Fixed Time uses Send time, Timezone and Send date. Dynamic Time (follow-ups to openers, clickers or link visitors) uses Hours after click.
- Optional: Add attachment URL adds a hosted file, fetched when the mail is sent. A link that cannot be fetched is skipped.
- Click Save.
Click + beside a mailing (Add Follow-Up Mail) to add a follow-up. Show mails filters by All mails, Send mails, Scheduled mails and Not ready.
Schedule and send
There is no send-now button. Sending works like this:
- Click Schedule in a mailing's dots menu, or Schedule All (clock button) and confirm. Enydea checks the mailing (every mailing, for Schedule All) and may show From field missing, Subject field empty, Missing mail content, Missing Send date or Send date must be in the future. Schedule All also needs a list (Mailinglist missing) and at least one mailing.
- Every minute, Enydea sends the scheduled mailings whose date and time have arrived. To send soon, schedule a time a few minutes ahead. A mailing more than 24 hours overdue is not sent automatically by default.
- Delivery is metered. By default at most 80 messages per hour go out for each sending domain; the rest wait in a queue and follow in later hours. Enydea picks up waiting messages every five minutes, also after a restart.
- Unsubscribed and bounced addresses are skipped. Dynamic lists refresh first unless you turned that off.
- The send gate then checks the addresses that belong to contact persons in your CRM. By default it only reports what it would hold back. A company admin can let it leave unconfirmed and undeliverable addresses out of the send. See Email address verification and the send gate.
Once a mailing is sent you cannot edit or delete it, and there is no unschedule option. Delete a scheduled mailing to stop it. Once Enydea has queued the messages, a notification reads "Campaign mailing ... sent to N recipients". If the send gate found addresses it would hold back, or did hold back, the same notification says how many and why. If N is 0, check the domain and the list. Replies go to the Send from address, so create it under Email Addresses with forwarding.
To check a list's addresses before you send, see Tutorial: clean a mailing list before a campaign.
Check results
Open the Dashboard and add the widget from the speed-dial button Add mailing data. It charts Delivered, Opened, Clicked, Unsubscribed, Complained, Stored and Failed. A relation's Journey tab shows email interactions per contact.
On a phone
The drag-and-drop template editor needs a larger screen, so on a phone Mailings opens on Campaigns. The tabs show only their icons: the pencil is Template Editor, the calendar Campaigns and the list Mailing list. The Template Editor shows a note that it works best on a computer or tablet.
On Campaigns, tap a campaign to open it across the full screen, and tap the back arrow to return to the list. Build templates on a computer or tablet. See Navigating Enydea for the rest of the phone layout.