Create an AI image and save it as a PNG
Goal
You describe a picture in words, let the AI Image tool create versions of it, pick one and save it as a PNG. This takes about 10 minutes.
What you need
- A marketing relation selected in Current Account in the sidebar. Without one, Visualization is a blank page.
- A desktop browser.
- AI generation can be billed as usage. Company admins can check the AI usage figure at Settings -> Account -> Plan & Usage.
Steps
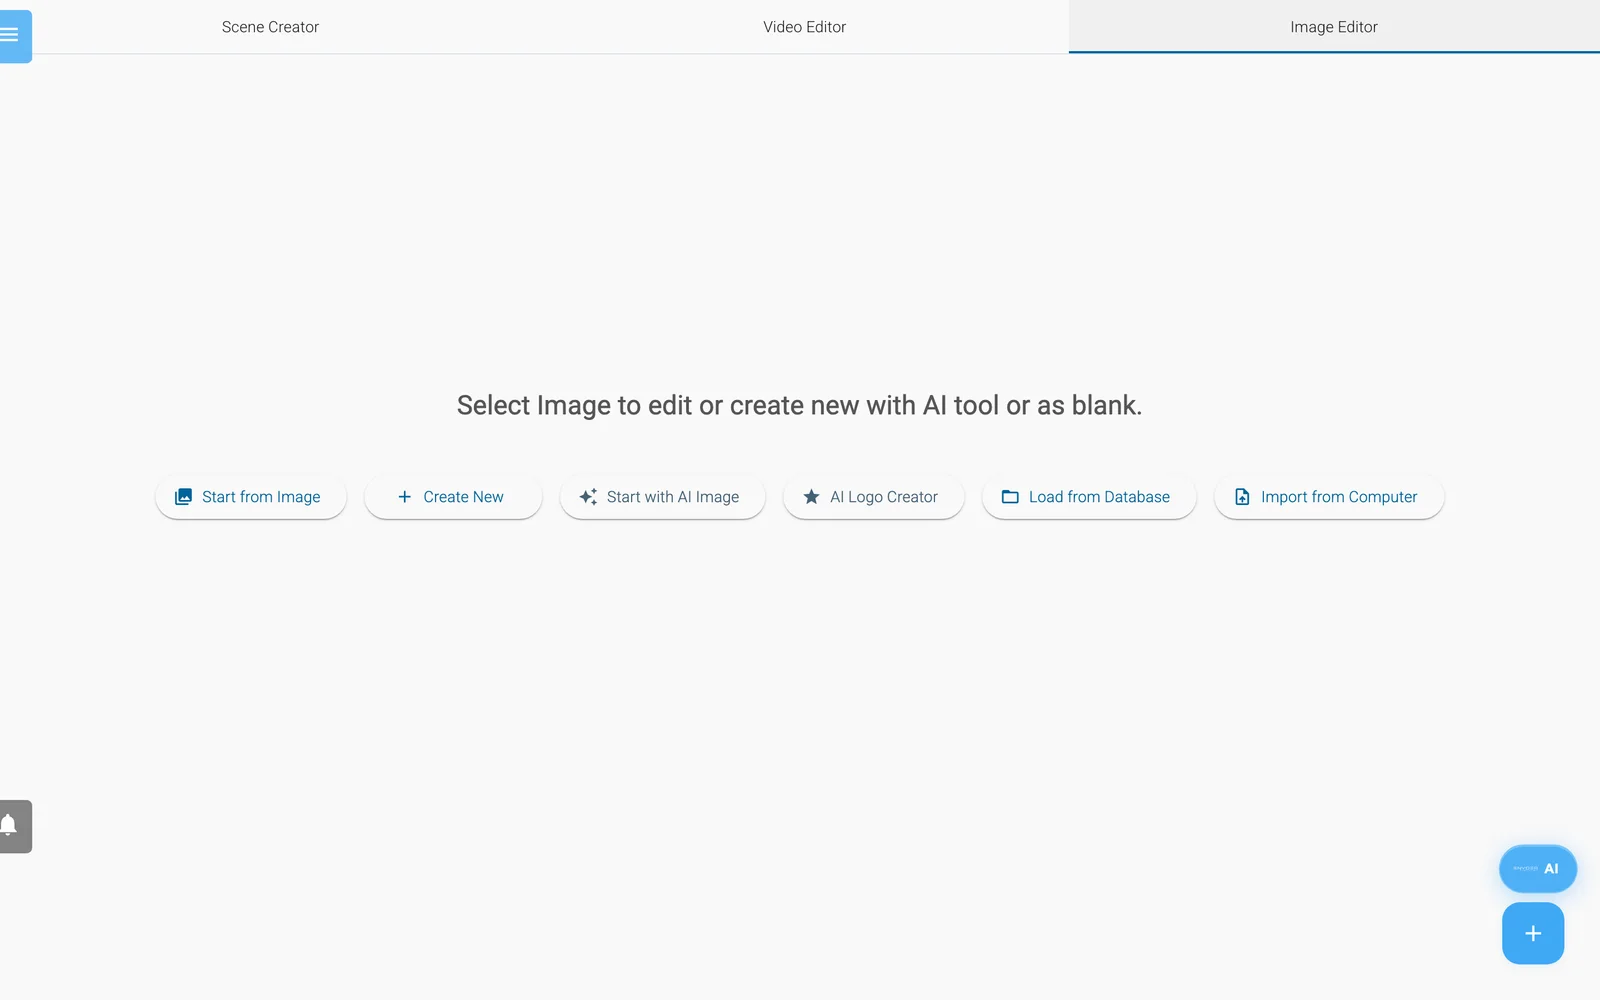
The Image Editor start screen.
- Open Visualization in the sidebar.
- Select the Image Editor tab. The start screen reads "Select Image to edit or create new with AI tool or as blank."
- Select Start with AI Image. The Image AI Tool dialog opens.
- In the description field, describe the picture. You can type up to 400 characters. A good description names one main subject, says where it is, and adds the light, the mood and the style. For example:
a ceramic coffee mug on a wooden desk, soft morning light, clean product photo. Short and concrete is easier to adjust than long and vague. - Optional: open Smart Preset, type your goal under What do you want to create?, select Suggest, then select Apply Preset. Skip this step to use the default settings.
- In Basic Settings, set How many versions? to the number of pictures you want (1 to 4). Leave Composition Quality on Enhanced (Recommended) unless you have a reason to change it.
- Optional: use Artistic Style, Scene & Environment and Camera & Composition to add style, setting and camera angle to your description.
- Select Create Image. The dialog shows Generating your image... and a Cancel button. Wait until the pictures appear.
- Select the picture you like best. Double-click a picture to see it full screen.
- Optional: select Enhance. In the Enhance Image window, keep Refine as the Enhancement Method, type an Enhancement Prompt such as
sharper details, warmer light, and select Enhance Image. The result is added as another picture. Select it. - Select Select. The Import Mode window asks "Replace entire canvas background?" Select Yes. The picture becomes your canvas, and it is also stored in the relation's files.
- In the toolbar above the canvas, select Convert to Image.
- In the Save as window, type a name in the field (labelled Template Name) and select Save. Use letters, digits, hyphens and underscores only.
- In the Preview window ("Save Image and download?"), select Yes. The PNG is saved to the relation's files and downloaded to your computer.
Note: Image Size in Basic Settings only takes effect when a Smart Preset is applied. Without a preset, expect a square picture.
Tip: Select Try Again to clear the results and generate new ones. Variation creates new versions of the picture you selected.
Check your work
- Open Files in the sidebar, with the same relation selected.
- Type your name in Search files.... The PNG should be listed. If the name already existed, a number is added to it.
- Open the three-dot menu on the file and select Preview to see it.
- The picture you selected in step 11 is stored too, under a name that starts with
ai-image-. - Check your computer's downloads folder for the same PNG.
Next steps
- Select Save Project (before you leave) so you can open the image again with Open Project and edit it.
- Export for print with Save to Print or Upscale + PDF. See Visualization.
- Attach the PNG to a social post. See Social Media and WhatsApp.
- Manage and delete your pictures in Files.
- Turn a scene into a video: Make a short product video.